In late spring 2020, I was living in the Mission in San Francisco. Lockdown had settled like a strange but oddly comfortable blanket over my apartment. Just outside, the pandemic’s toll could be felt everywhere. My once thriving neighborhood was all boarded up, with vacant apartments and storefronts everywhere. My now-husband and I had started dating shortly before the pandemic, and his 5-bedroom place had become stupid crowded with everyone working from home. We decided to sublet our respective apartments and take an adventure out of town for three months.
We looked for places everywhere. Tahoe, Napa, Clearlake, North Park in San Diego. Everything kept falling through as landlords debated which way the tourism winds would be blowing by summer. Finally, we landed a place in Solana Beach in North County San Diego.
We spent the summer surfing, walking the beach, cooking, and debating the merits of various sunscreen brands.
We also spent the summer cruising Redfin. And in August, I made the biggest impulse buy of my life and closed on a cute little condo in Encinitas, a surf town just north of Solana Beach.
When we first visited the house, it was July. The trees were blooming with pink flowers, the back patio garden was alive with color and sunshine, and the raspberry-colored bathroom floor in the upstairs bathroom still seemed charming and vintage. After I put my offer in, I was asked to write a letter about why I wanted to live there. Pretty sure that’s illegal now, but whatever. I wrote about how all the natural light would be amazing for my sourdough and my photography, and how I could imagine raising some future kids there. I got the place.
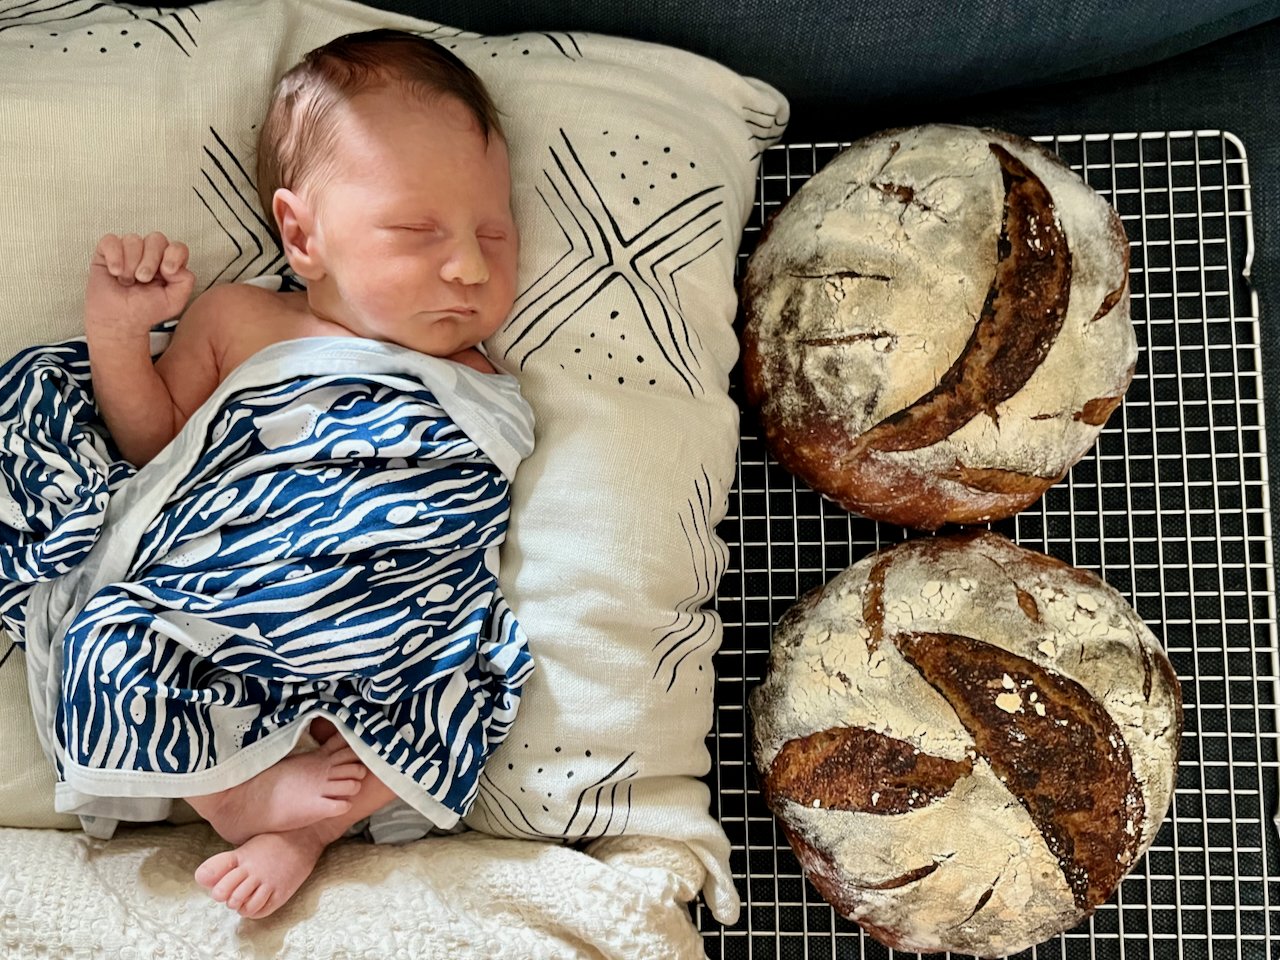
Fast forward. We find out that the old owners call the northeast-facing living room “the meat locker” because it gets so little light and stays so cold all year. And once you hit October, the patio’s sunshine hours narrow down like a Scandinavian winter. Ah well. This place has been great to us, and it seems in writing about my future family, it manifested into reality as I got married and had my first son last September.
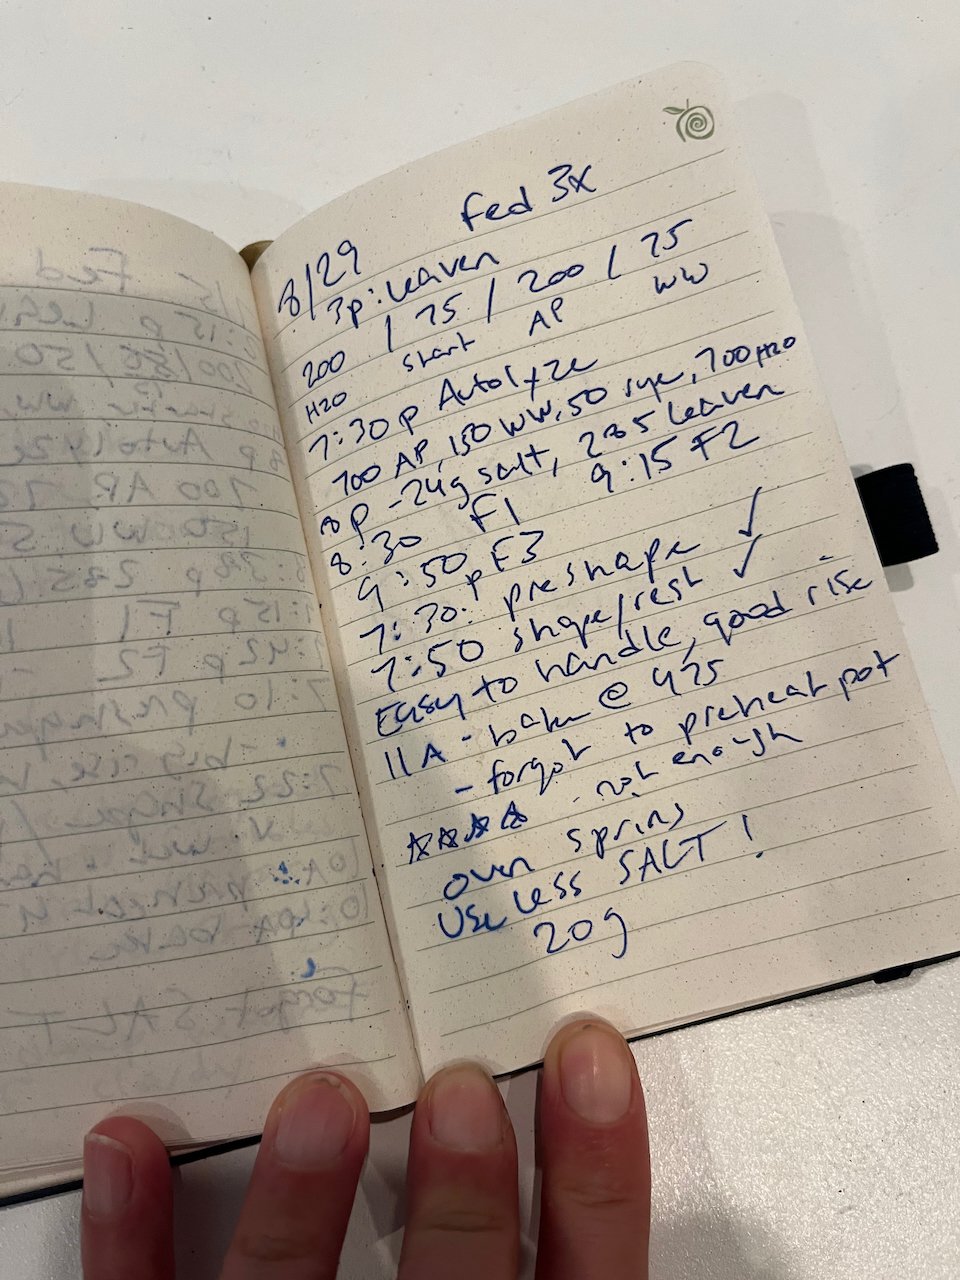
This is a very long way of saying that I needed to tweak my San Francisco sourdough recipe to adapt to a) San Diego weather, and b) a distinctly not-warm home.
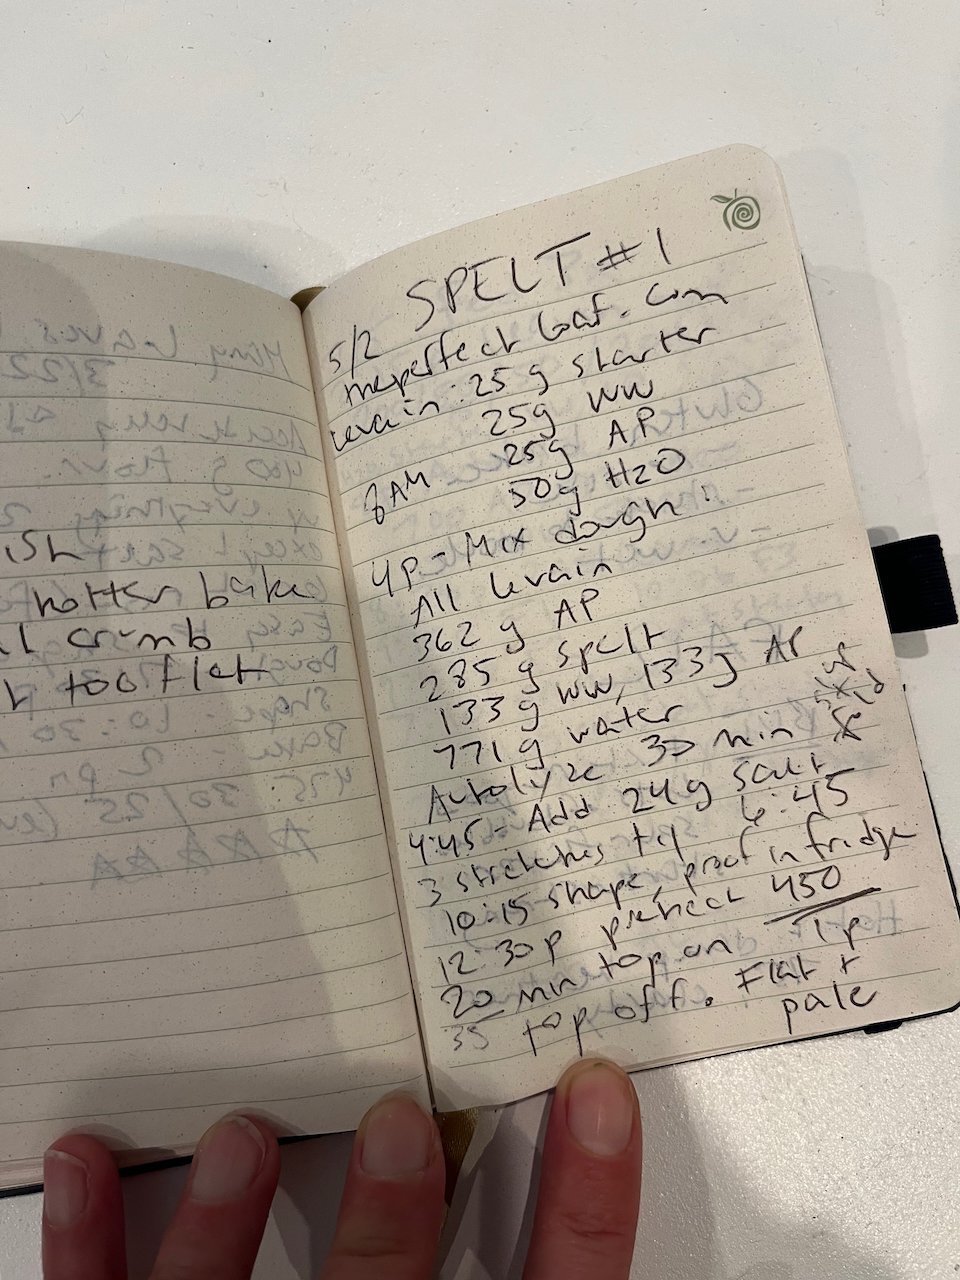
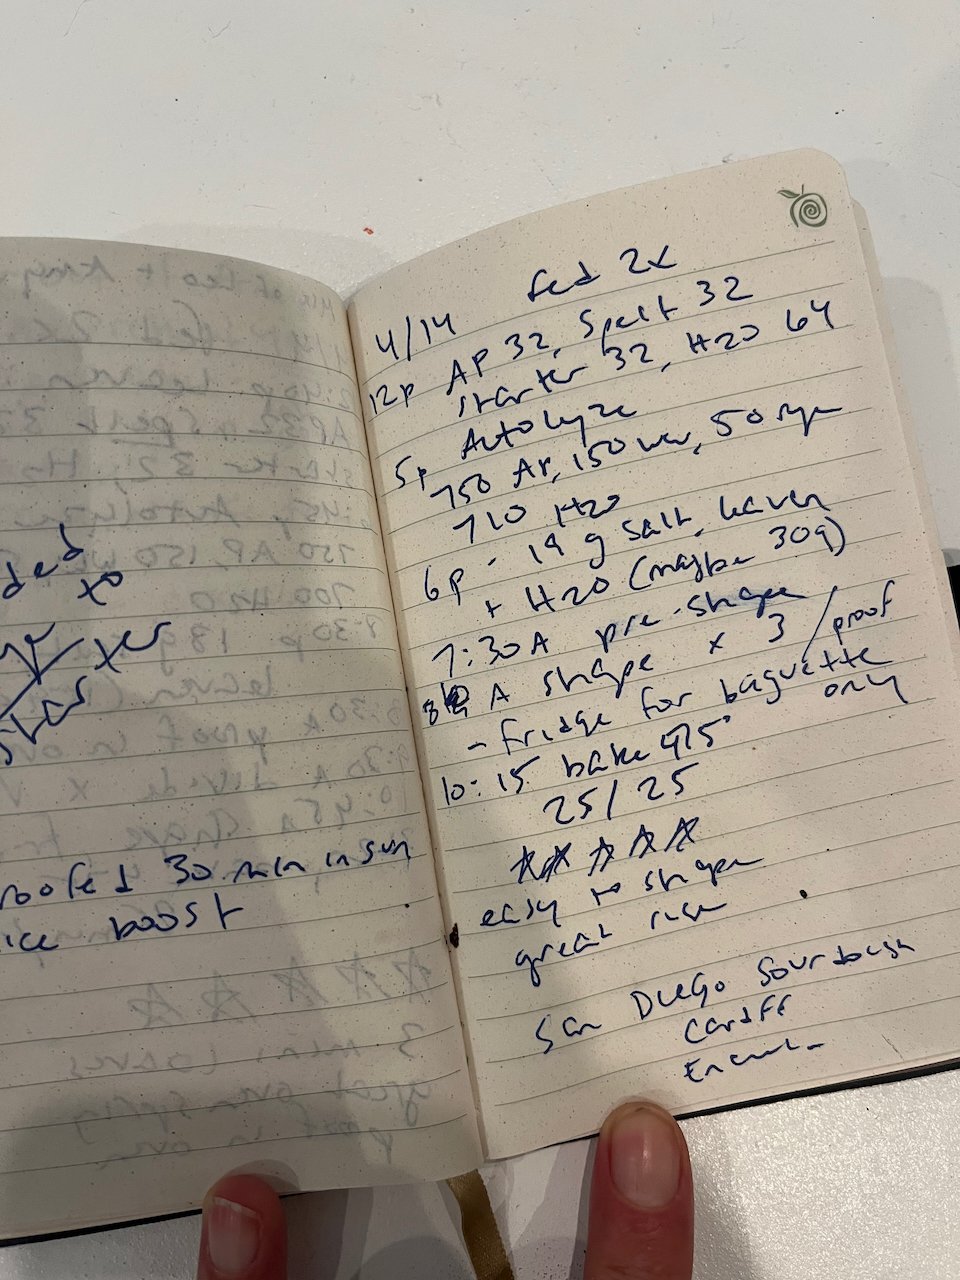
Also, I have been baking with my dad, and he’s successfully managed to cut out many of the steps that I thought were soooo important. He’s helped me become less dogmatic with my approach. I gave him “The Perfect Loaf” cookbook by Maurizio Leo, whose Rustico recipe has influenced my appetite to play with different flours like spelt in the leaven and rye in the starter.
Finally, sometimes I have been splitting my recipe into three loaves rather than two, the more to spread the wealth with the neighbors and for maximum crusty goodness.
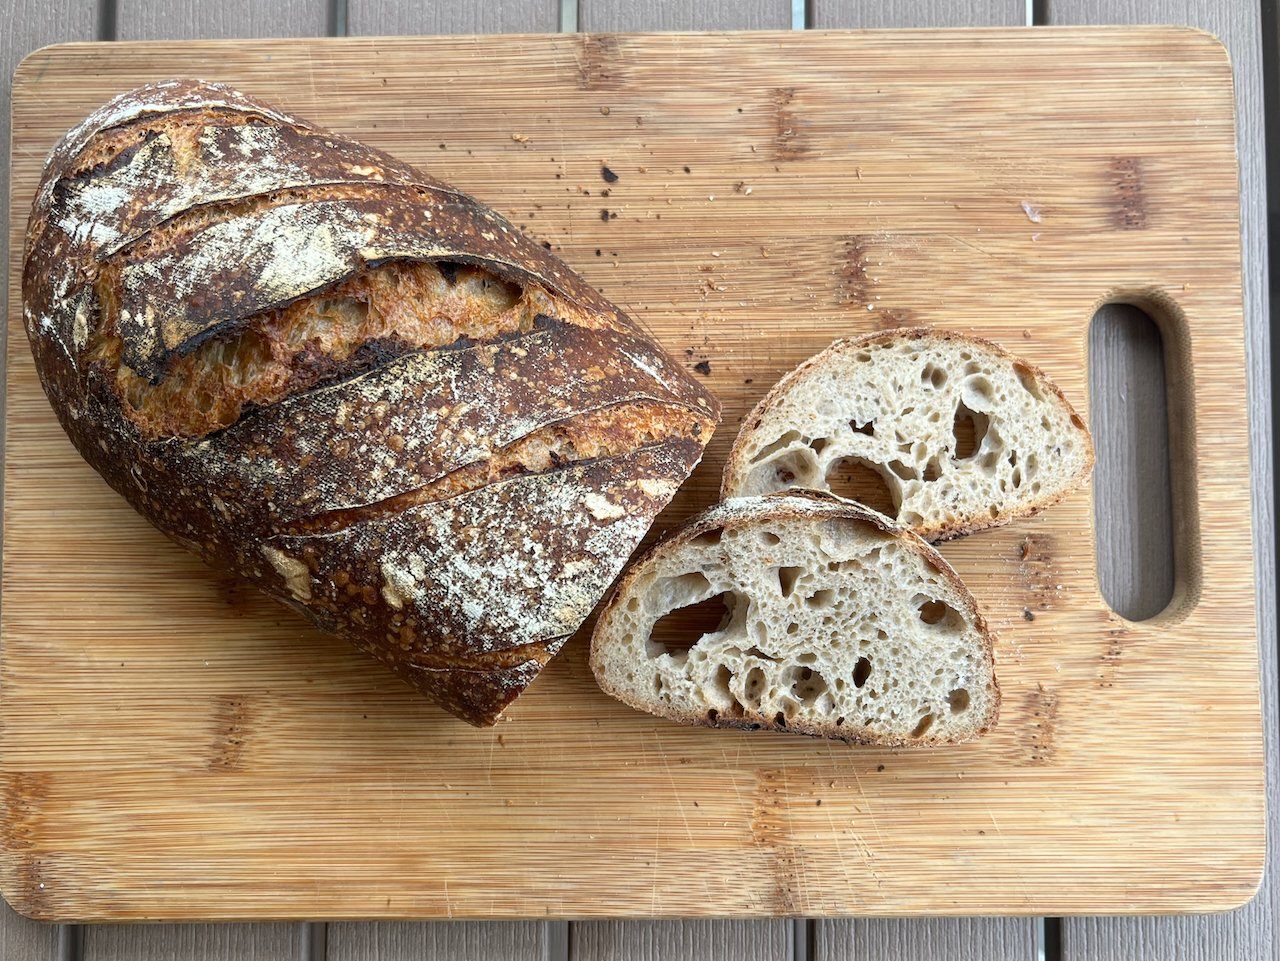
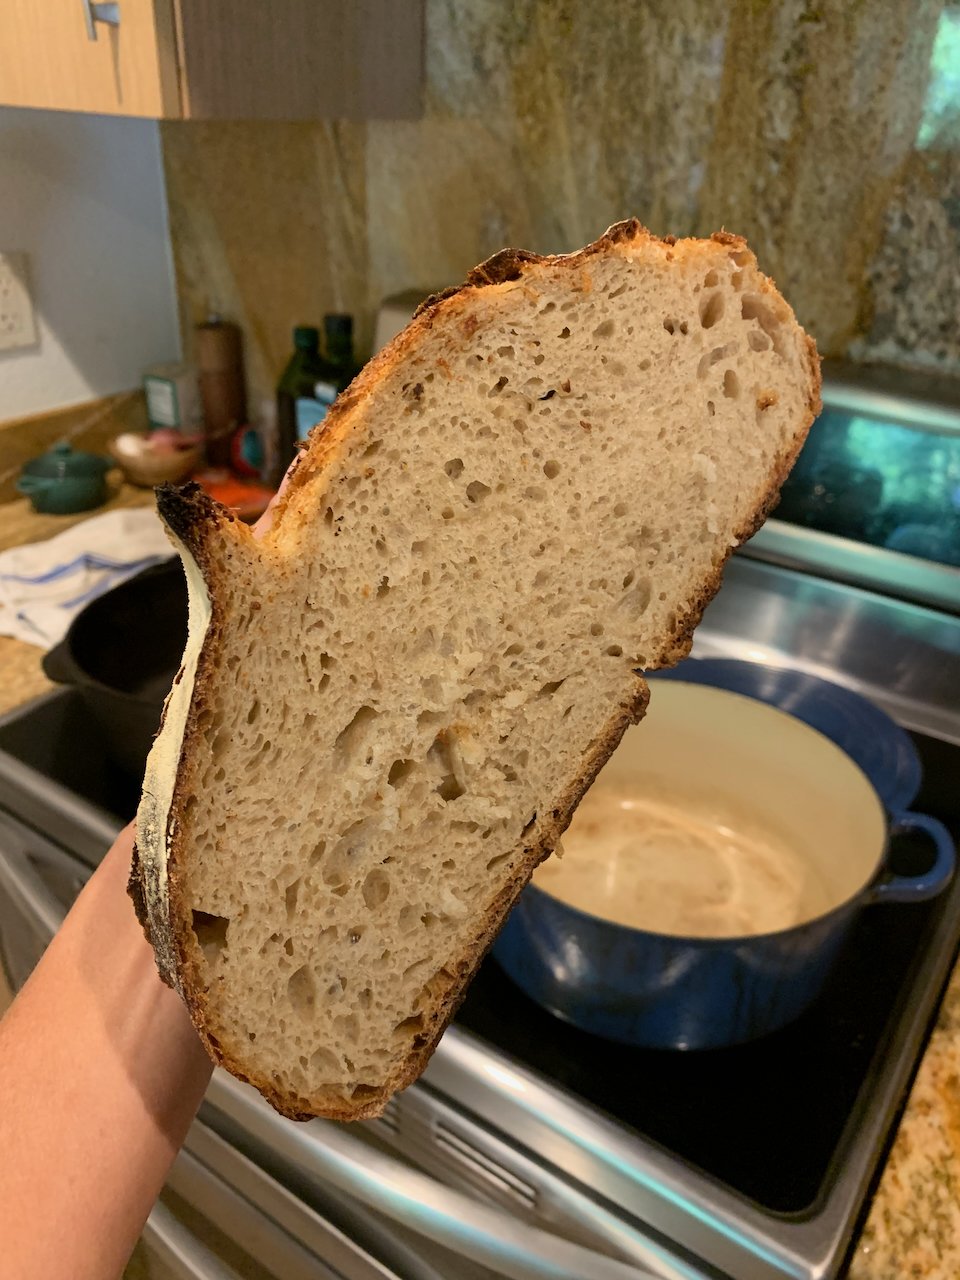
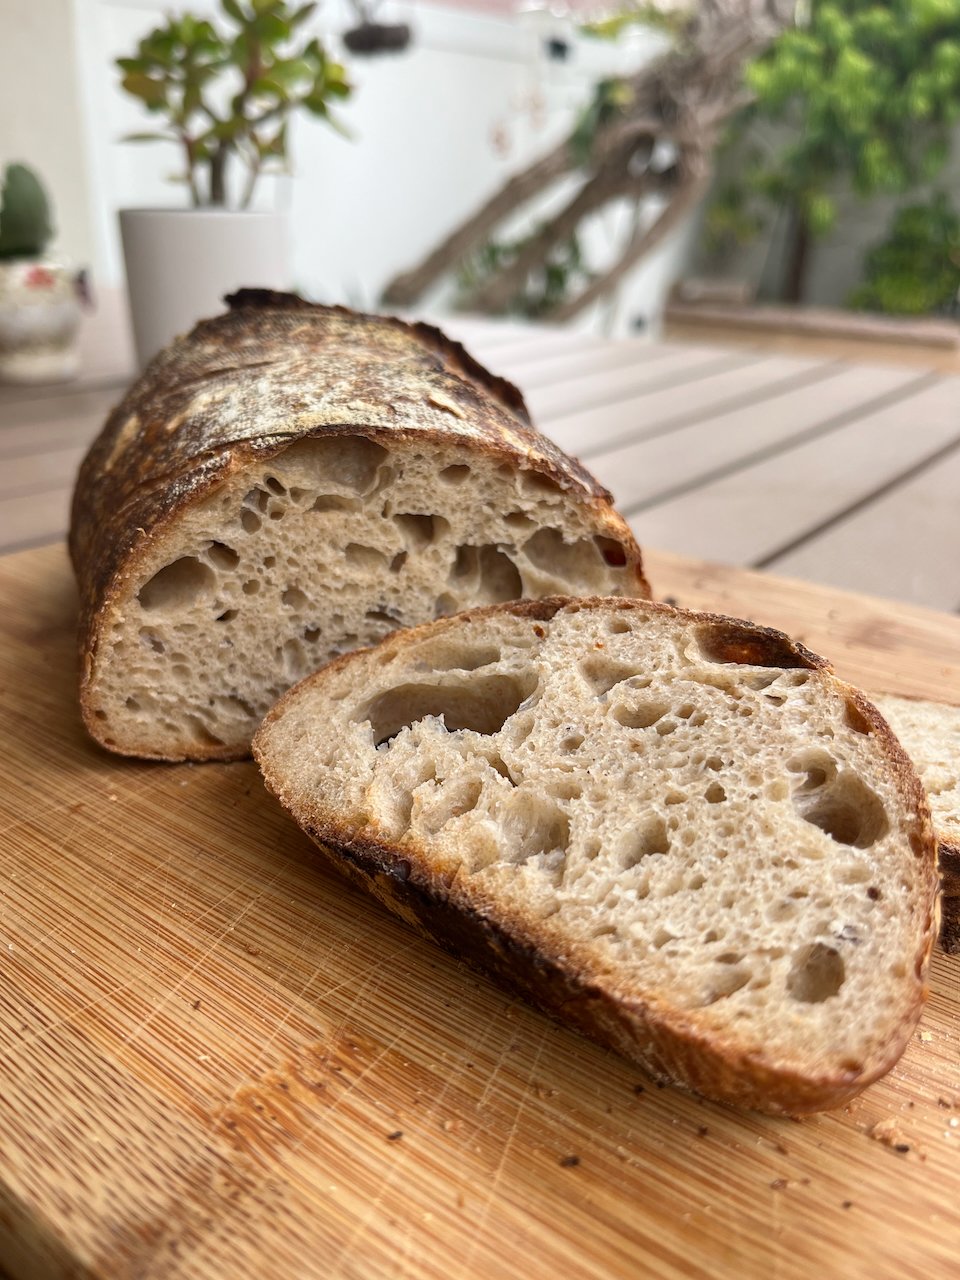
These loaves are a little more flavorful from rye and spelt, a little easier to manage with a long cold proof, and the leaven step is a bit more efficient than my San Francisco sourdough recipe.
Encinitas Sourdough Bread
Yield: 2 loaves or 3 mini loaves
Key Tools
2 cast-iron dutch ovens with lids, 5 Qt round ideal (larger for oval loaves)
2-3 9” round or oval proofing baskets
Parchment paper
Lame
Ingredients
Starter Feeding:
1 part water
1 part starter flour blend: 1 part all purpose flour, 1 part rye flour, 1 part whole wheat flour
Leaven:
32 g starter
32 g all-purpose flour
32 g spelt flour (or rye)
64 g water approx 78F
Dough:
750 g all-purpose flour
150 g whole wheat flour
50 g rye flour
700 - 725 g water
160 g leaven (all of it)
18-22 g salt, depending on brand (I use 20g Diamond Crystal)
If you are using starter from the fridge that hasn’t been fed in a while, allow yourself 2-3 days to feed the starter before you make the leaven. I typically pour off starter until I have about a quarter cup in the jar, and feed it a quarter cup water and a quarter cup flour blend (feed 2x the volume of initial starter).
From the time you have a fed, happy, bubbly starter, allow yourself at least 2 days until the final bake. I like a long overnight rise and most recently have been doing a cold proof in the fridge to give me more flexibility with babies to feed and such.
Morning Day 1: Feed starter
Early Afternoon Day 1: Make your leaven
In a medium bowl, mix together starter, leaven flours and water with your hand. Cover with a cloth and let it rise for 4 – 6 hours. Put the remaining starter in the fridge or leave out and continue to feed for your next loaves.
Early Evening Day 1: Autolyze flour and water
In a very large bowl, mix your dough flours and water with your hand. Start with 700g of water.
Evening Day 1: Mix in leaven and salt
After an hour, mix in the salt and all of the mature leaven with your hands. Add extra splashes of water as you really work the salt and leaven through the dough so it blends evenly. Stretch and fold for about three minutes until the dough really comes together.
Later Evening Day 1: Three rounds of stretch and folds every 30-45 minutes
Hold the bowl with your left (or non-dominant) hand. Wet your right hand, and scoop your hand under the right edge of the dough and pull it slowly so it stretches as far as it will go without tearing. Fold the dough over itself in the bowl. Rotate the bowl 90 degrees, and repeat on all four sides. Let the dough sit for 30 to 45 minutes. Repeat 2-3 more times, letting the dough rest between each session.
Evening Day 1: Bulk fermentation
Cover the bowl with a towel and leaving it in a warmish, non-drafty spot. Let rise overnight for about 12 hours from the time you started the dough. If the dough is feeling kind of tired after 11-12 hours, use your oven’s bread proofing setting for the final hour or place the bowl in a sunny window.
Don’t over-rise - you will actually get a flatter end result if you let it rise too much at this stage because the gluten “breaks.”
Morning Day 2: Pre-shape, shape and proof your loaves
The dough should be about 2.5x in volume with big gassy bubbles on the surface.
Flour a large, clean surface – I like to use a marble pastry board. Pour the dough gently out of the bowl, using your hands or a dough scraper to separate the sticky dough from the bowl and keep in one piece. Use a flat-edged bench scraper or knife to cut the dough into two or three equal pieces.
Pre-Shape: Sprinkle some flour on each piece of dough and flour up your hands. Try not to work too much extra flour into the dough – just use enough so you can handle it a little more easily. Using a similar but less aggressive technique as the stretch and folds, gently pull on the right side of one dough piece and wrap it over the top, then do the same on 2-3 more sides so the dough forms more of a ball. You only have to pull on it a little – the goal is to maintain the air and volume in the dough but just give it a tighter shape. Repeat on the other pieces of dough and let sit for 15-30 minutes.
Shape the loaves: Flour your hands and the balls of dough one more time. Cupping the back of the first ball with both hands, pull it gently towards you. Rotate it 90 degrees while pushing it gently away from you. Repeat this until you have a nice tight ball with lots of surface tension. Just a tiny bit of stick on the bottom of the loaves will help you get a tighter ball. Again, do this gently to preserve the air and volume in the dough. Repeat on the other piece. Flour your baskets and gently place each ball of dough with the bottom seam facing up, smooth top face-down in the basket.
Proof: Let the baskets sit for 2-3 hours on the counter, or put them in the fridge loosely tented in plastic bags for up to 24 hours.The longer you proof in the fridge, the more sour your dough will taste.
To test the status of your proof, gently poke the dough with a finger – it should slowly rise back up. If it bounces back instantly, it may need a little longer. If the indentation doesn’t bounce back, you’ve probably over-proofed it. Just bake it and don’t worry about it – it will still taste great.
Noon-ish Day 2: Pre-heat and bake
30 minutes to an hour before you plan to bake the loaves, pre-heat the oven to 475 F and place both dutch ovens with their lids inside. You can leave any loaves proofing in the fridge right up until you bake them. I sometimes take them out just as I preheat the oven when the bulk fermentation has been in particularly cold conditions.
Cut two pieces of parchment paper that will hold your loaves.
Gently flip each basket onto the parchment paper. Sprinkle some flour on the tops of each loaf and smooth it down. Using a lame, slash your loaves into whatever pattern you like. I like a long curving slash down the middle to create a crispy “ear” and then a few whiskers on either side.
Take the hot pots out of the oven and remove the lids. If you have a lot of excess parchment paper, trim the sides but allow enough so you can lift each loaf into the pots without burning yourself.
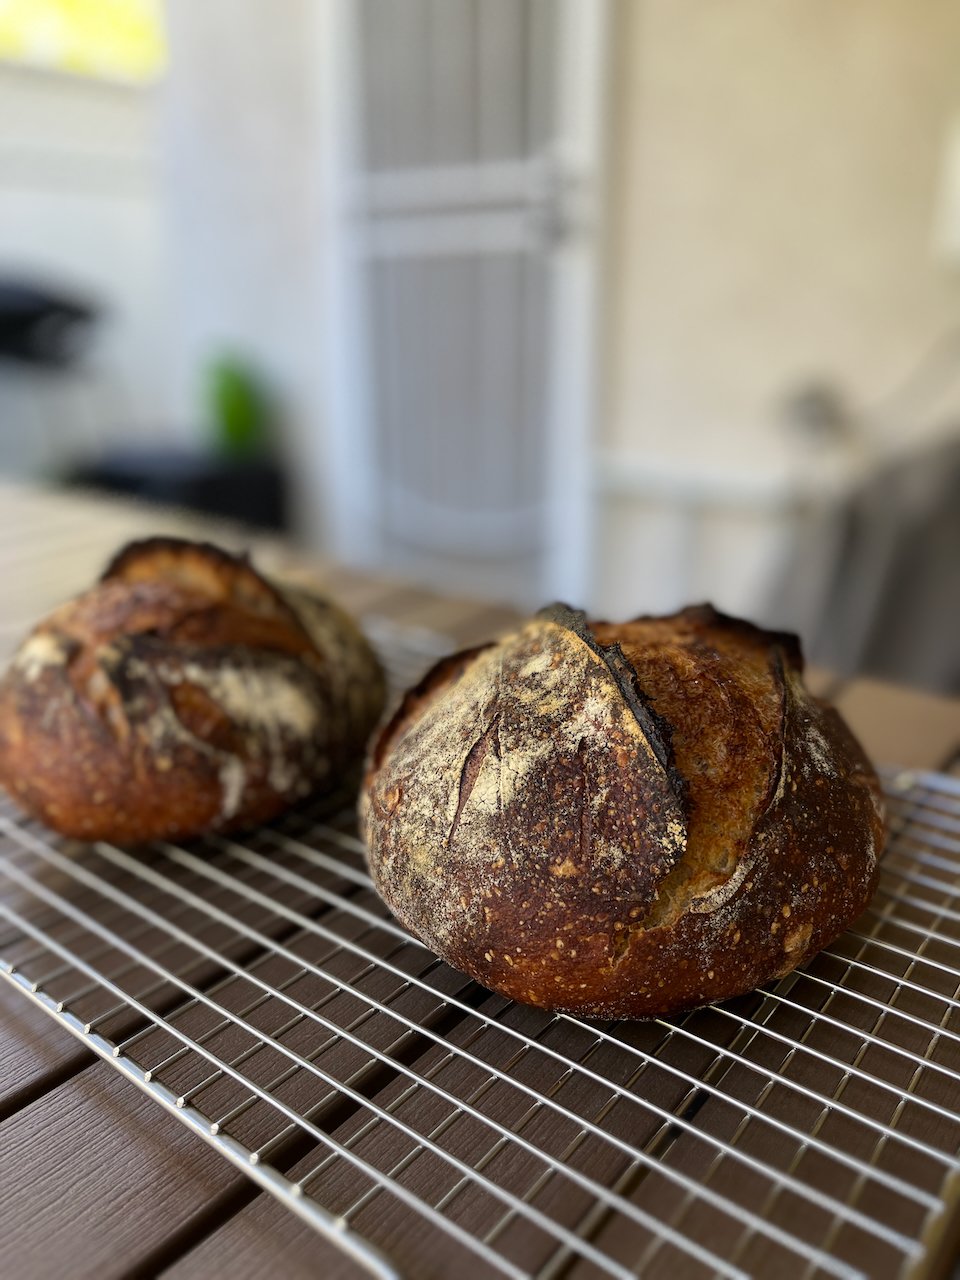
Cover the pots and load them into the oven, both at the same time. If they don’t fit just follow the next steps for each loaf. Bake for 30 minutes for two loaves, or 25 minutes for smaller pieces of dough that has been divided up for three loaves. Remove the lid, careful to avoid the steam. Place the pots back in the oven and bake for 25 more minutes. The top of the loaves should be a deep burnished brown.
Remove pots from the oven, then remove the loaves from each pot and let cool on a wire rack. I use a big flexible metal spatula to help me get the loaves out of the hot pots.
If baking a third loaf, either bake it now in one of the pots, or leave it proofing in the fridge to bake later.
Let the loaves cool for at least a half hour. They should make some satisfying crackling sounds as the steam from inside the loaf tries to escape the crust.
Loaves will keep for 3-4 days on the counter. Store with the cut side down or draped with a damp towel for maximum freshness. I usually eat some, then slice and freeze the rest in a big ziplock bag.

